 Mission: (Project Description)
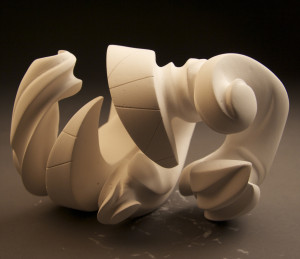
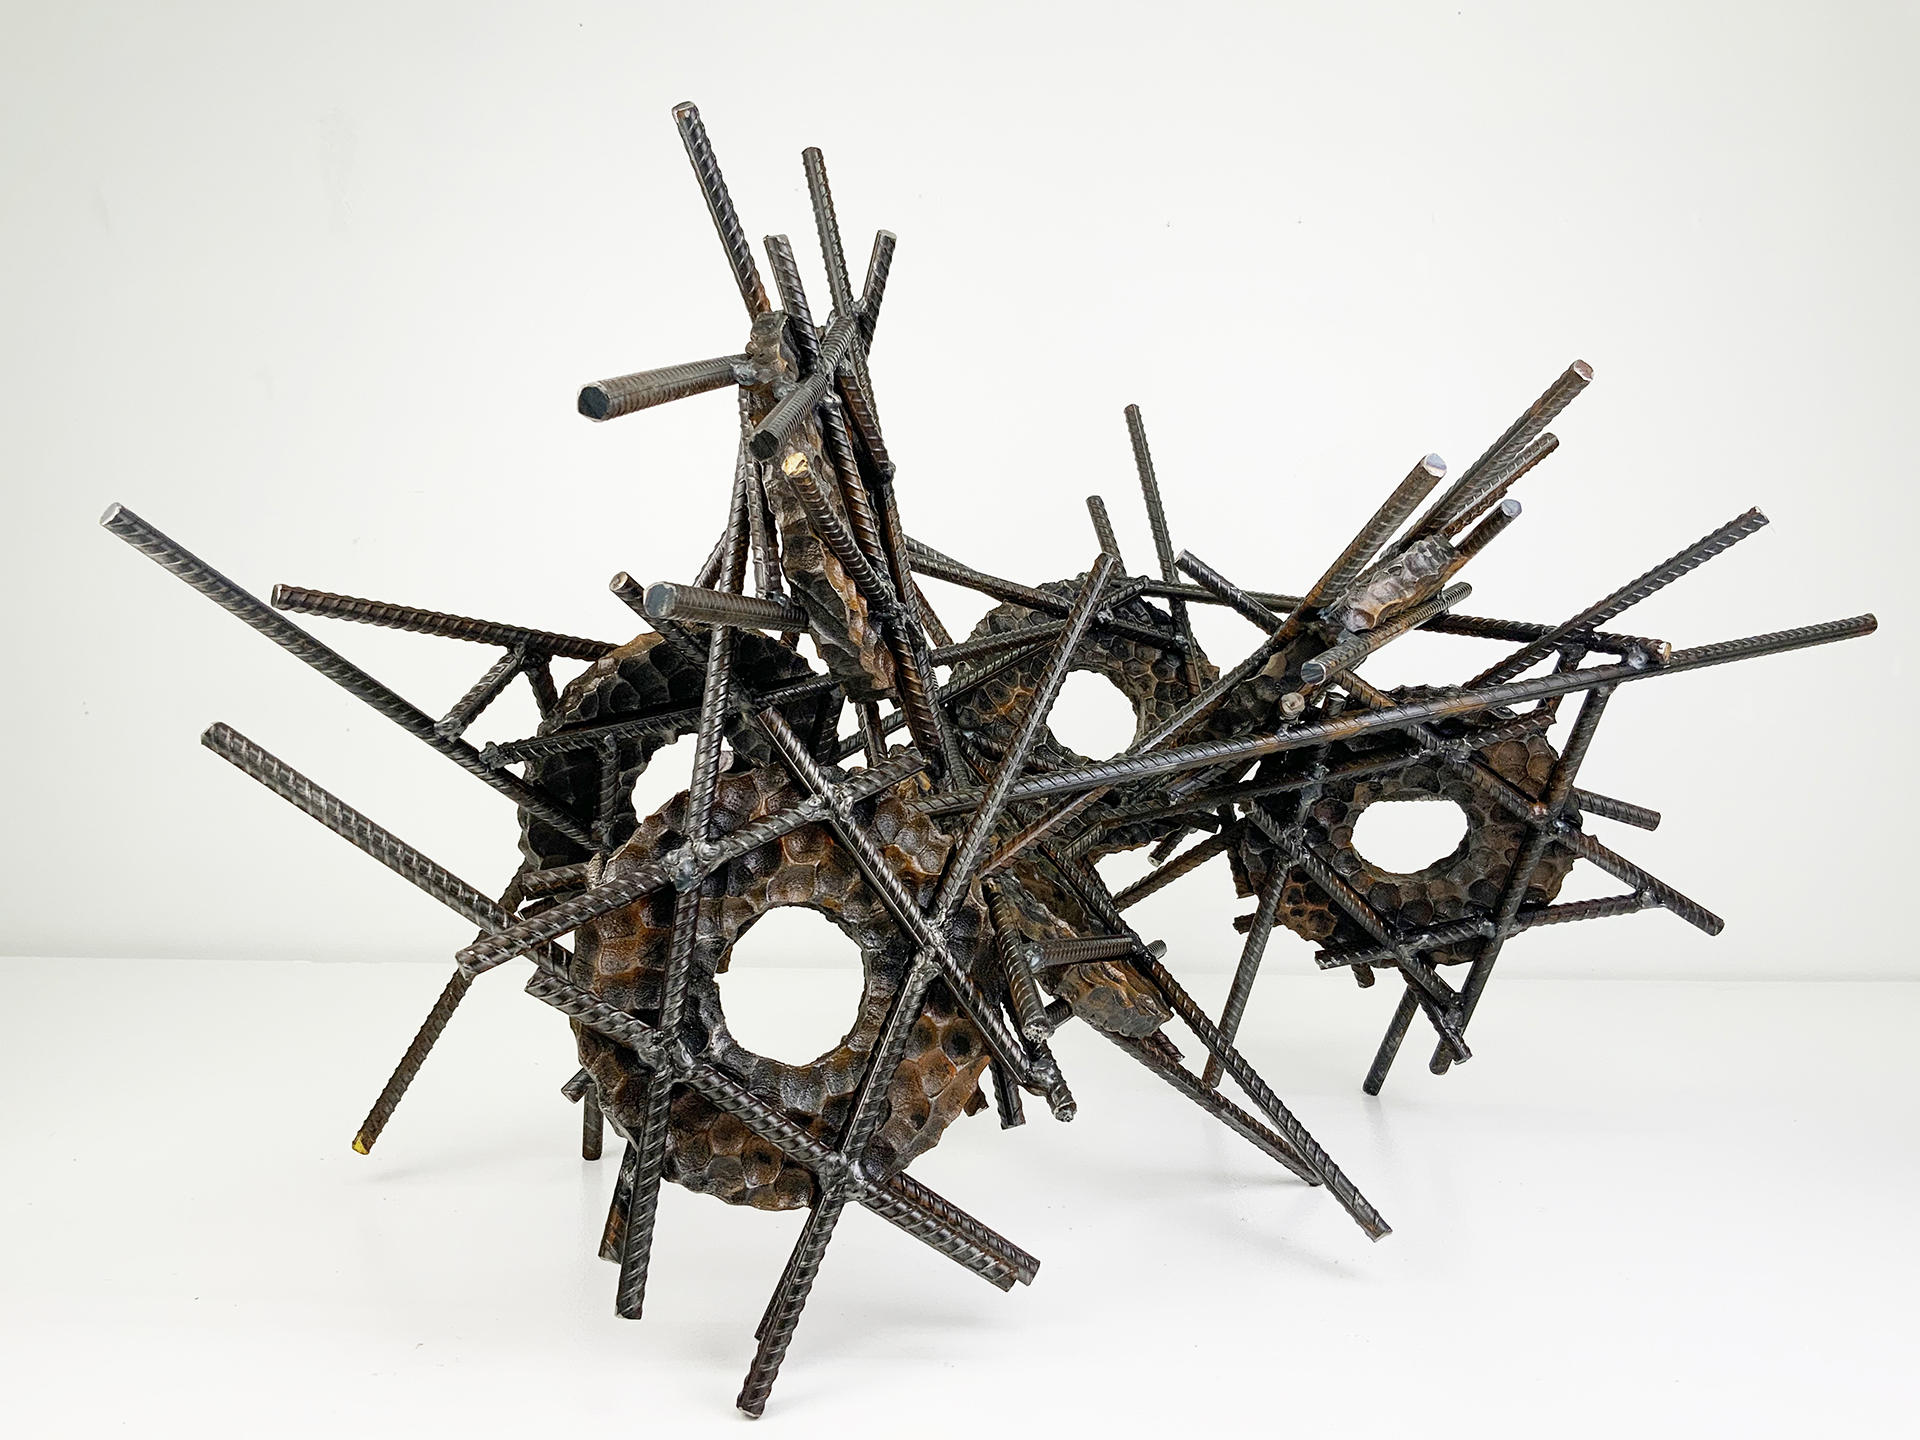
Using two forms build one, morphing the forms together to become a non-objective or abstract formal composition. The original forms are to be used as inspiration to assist in guiding the form. Use elements from each, yet develop your sculpture as a unique entity with an elegant form and a clean aesthetic. Original chosen objects may be mechanical (man-made) or natural.
- Bring a wire cloth hanger and nylon stocking. This will be used to build a non objective form to base your carving to. The wire will be an armature for the nylon which will become a surface and skin.
- Bring two interesting objects from home, which are approximately the size of your hand. Objects may be mechanical or organic.
- Bring a container to build a blank. (1 gal. container.)
- Create a blank from plaster.
- Brain storm and Sketch ideas.
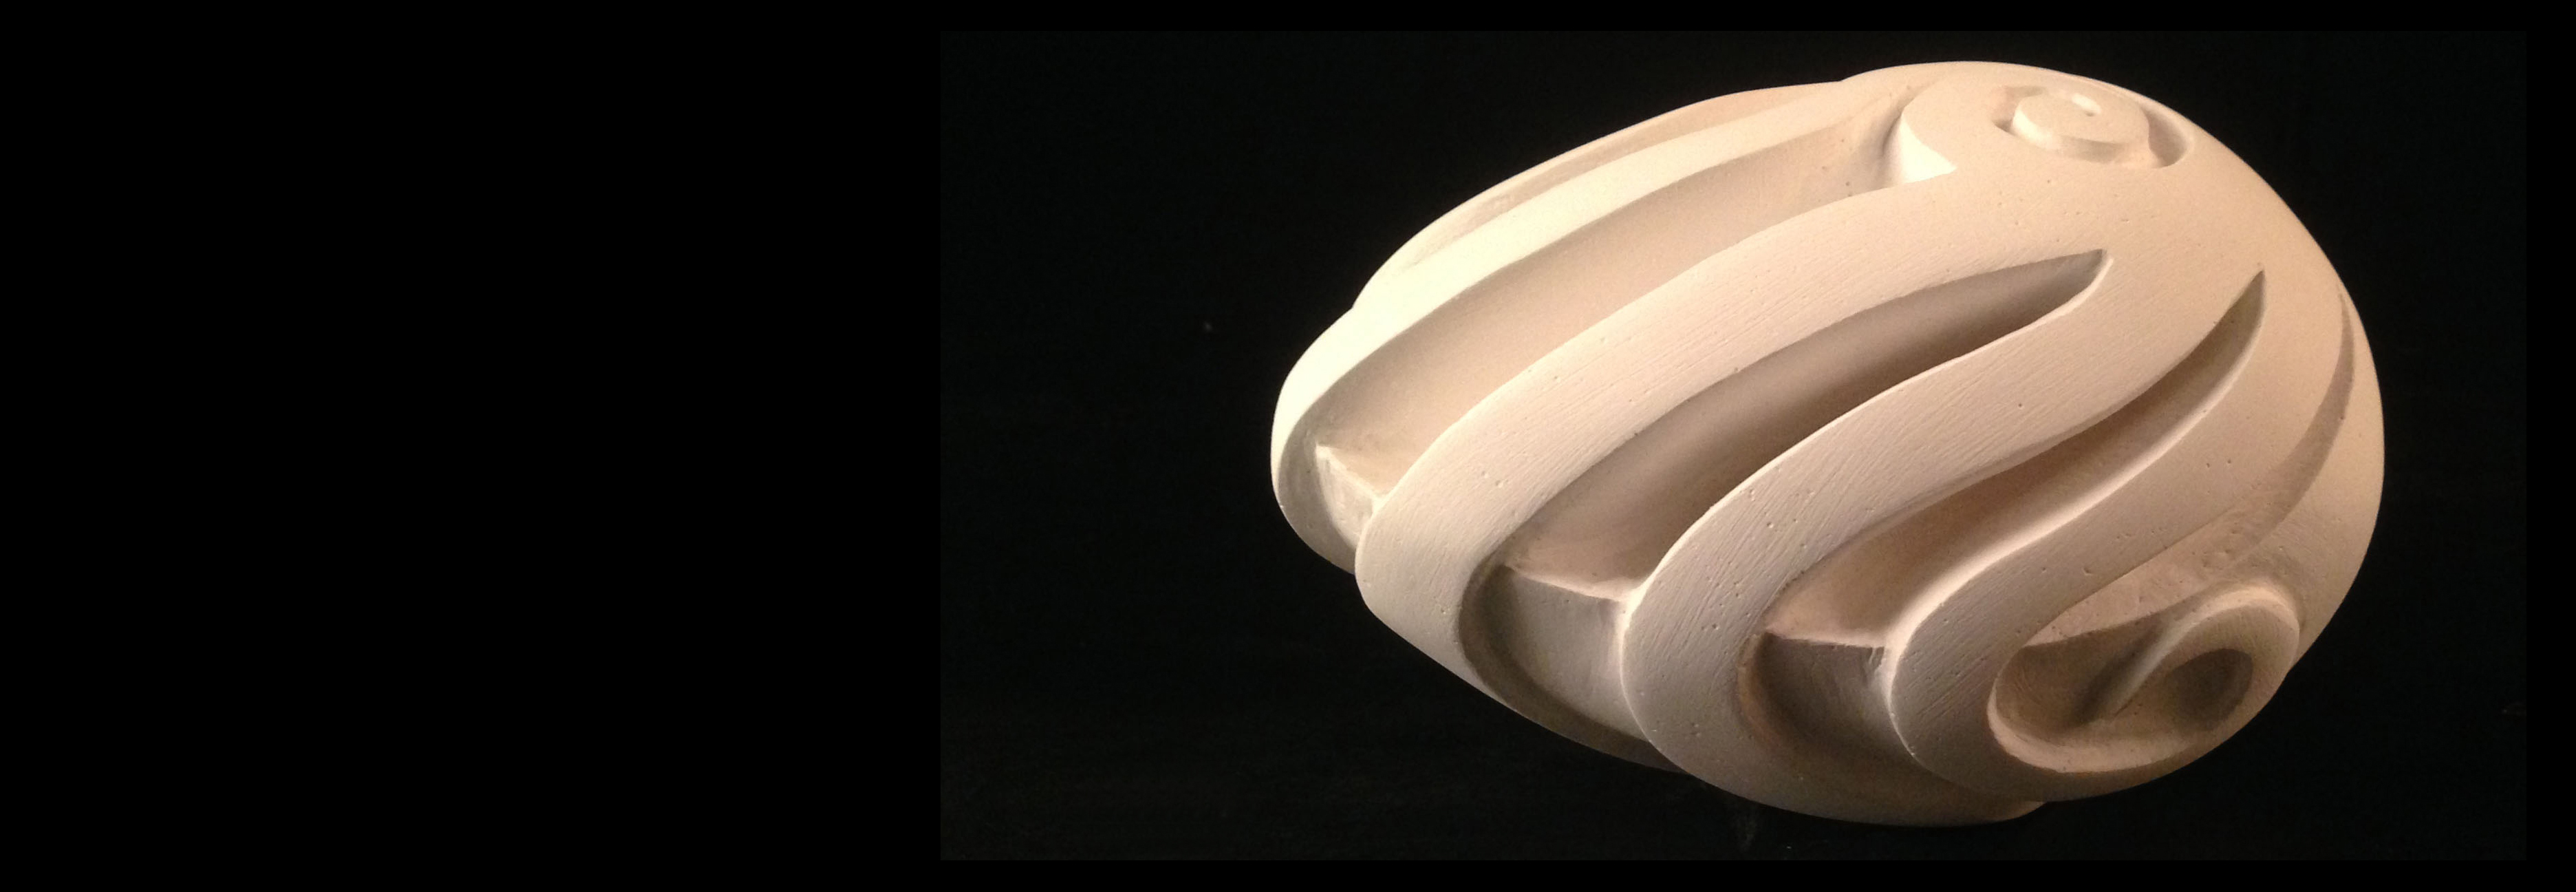
- Plaster Carving: Create an abstract form from objects and sketches.
Sketchbook Assignments: (Five pages)
- Assignment 1: Sketch original objects in your sketchbook. (3 views of each, 2 pgs)
- Assignment 2: Preliminary and in process sketches of plaster form. (3 pages)
Additional Criteria: Strategies, Technique and Composition: (Project Description)
- Clay may be used as a modeling/sketching tool: Sketches do not always start in the sketch book. Model, in clay an abstract form, drawing characteristics from your two objects. This will assist you in developing the composition. Images of these moquettes may be placed in your sketchbook and are valid sketches.
- This project relies on the elements of light and shadow. Carve so that light and shadow create the dynamics of the form. No paint, pigments or inks should be used for this project.
- Use repetition, directional curves and form to create a since of movement.
- Develop a composition with movement that will draw the viewer around and into the form.
- Use models, sketches and your own intuitive inspirations to create. Process will play a great part in your exploration as you learn the material, developing carving techniques and sensibilities.
- Think about how these objects work together to create one form or how one may seem to dominate over the other, seeming to swallow or assimilate.
- Craftsmanship: Elegant form and a clean aesthetic should be a goal.
- Pay attention to building a form that has interior definition as well as exterior. Carving and modeling in the interior of the object will challenge your abilities, as always you are encouraged to push beyond the average.
- Do not leave any indication of the container of your original form. Work the whole form.
- Remember its okay to go back to sketches drawn or sculpted to alter and redesign your composition as you work through the project. This is a part of the process.
Tools and Materials:
- Clay for sketching (Plasticine)
- Plastic or wax Container- Bring your own. Plastic or wax coated.
- Pottery Plaster No. 1
- Sanding Screen (Drywall Sanding Screen or sand paper)
- Sketchbook
- Plaster Drywall wrasp
- 8” Rasp- Purchase at art, wood or craft stores
- Other Scraping Tools: Spoons forks, Files, Knives, Drill
- Clay trimming tools, spoons, knives, forks, old saw blades (be inventive)
- Dust Mask
Project Critique:
- Project should be finished before the beginning of class critique session.
- Projects will be discussed during the critique.
Think About:
- The Elements of Design: line, texture, shape, light, form, space, time,
- The Principles of Design: balance, proportion, rhythm, emphasis, and unity
- Exterior vs. Interior, Primary and Secondary Contours, Positive & Negative Forms, Static and Dynamic Forms
Photographing your work:
Photograph your work: A minimum of two types of images of your object should be made and emailed to the instructor of this course.
As an artist, a good portfolio will always set you apart from the rest of the crowd. When it comes to artist portfolios, pictures of your artwork are usually the first time a person may be introduced to your work. The images you provide are usually what make the biggest first impression. There for, it makes sense to practice photographing your art at the beginning and throughout your art career.
Image 1: 3-D portfolio image:
Neutral Setting Studio Shot: Should have no visual relationship to other objects. One should not be able to determine the size of your finished form. Good composition, good lighting and the best representation of your object is the goal. Minimize unnecessary shadows and highlights. A grey screen and lighting is available in room FAC 183. Take many shots of several sides of the piece. View them all on a computer screen before editing to the best.
Image 2: Creative Monumental Composition Using Forced Perspective:
Create the illusion that your sculpture is monumental by using forced perspective. Forced perspective techniques manipulates our human perception with the use of optical illusions to make objects appear larger, smaller, farther, or closer than they actually are. Movie makers sometimes use forced perspective to turn plastic toys and other objects into gigantic forms and characters we see on screen. The use of digital effects today still incorporates this popular way of portraying scenes or objects. A search on the web should gain several hits on strategies for creating a forced perspective image.
Before Critique:
Write a short paragraph about the form.
- Descriptive, poetic, narrative…..What is or can the piece be about?
During Critique:
Reactions to work done by peers.
- Use your own dialogue and the following:
- Reactions to form: Positive reactions-Negative reactions
- Sensibility to form:
- Elements of Design:
- Principles of Design:
- Concepts: What ideas come to mind when you look at the object?
- Relax: Keep an open mind.
Research/Inspiration:
- Arnaldo Pomodoro
- Barbara Hepworth
- Lynn Chadwick
- Tony Cragg
- Henry Moore
- Constantine Brancusi
- Rachel Whiteread
- Bernard Meadows

