 Prologue:

The bust has been used for centuries to honor, memorialize, characterize and distinguish identities of culture. As a social political tool, as many forms of art have been and will be, the face and bust have been used to provide as an instrument of social control and propaganda. For ourselves and prosperity art through human form has been a link to the identities of personalities of the past. History, mythology, and other stories are hinted and revealed by these simple yet complex forms. We have a compulsive draw towards the replication of identity through various mediums, to empower a material to conjure a sense of preservation.
Mission: (Project Description)
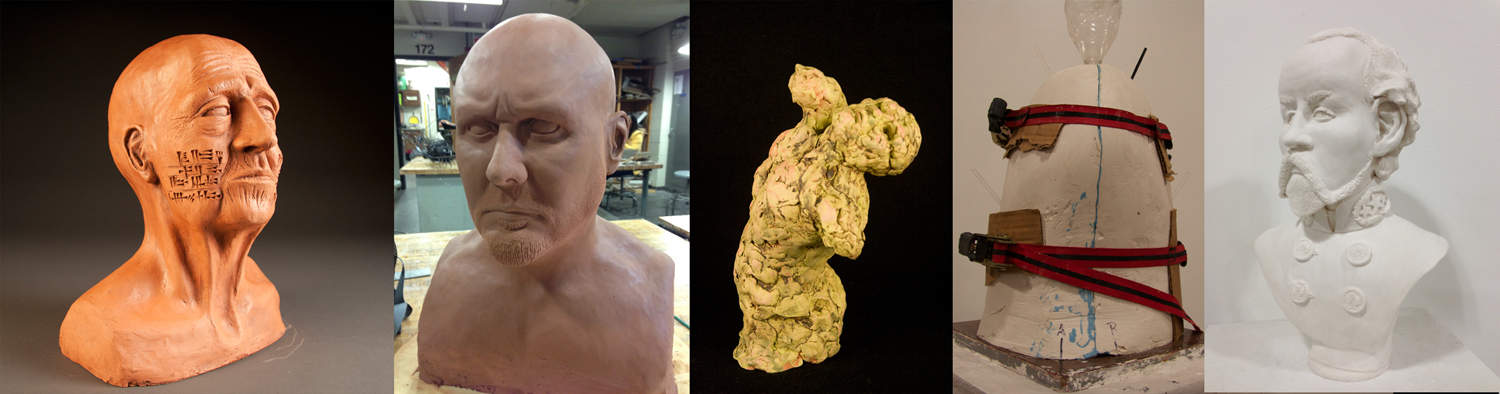
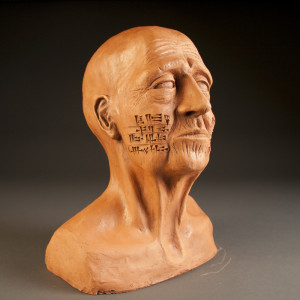
In this project the student will be asked to create a replication of the human head/bust or figure, to recreate a realistic form in clay from observation. The form must appear relatively realistic. (Makes sense, right?). A additive/subtractive method will be used. References are suggested below. Students must attend class for faculty instruction, support, observation, and in process critique.
The final form will be developed further. The student may choose the next component of the assignment. The next steps way heavily on the materials used in the initial fabrication of the form. Plan ahead for the final materials and results expected from this assignment. Each option below must be discussed with the instructor. Option 1 is equal to one project. Option 2 is equal to one project. Option three is equivalent to three projects. These equivalents are relative. The development of the student proposal may expand the time needed for these base options.
Option 1: Ceramic Model/ Fired Ceramic/ Finished Ceramic Form
- Student should research, modeling the human figure.
An armature will be built for the form.- The form is modeled in a ceramic material conducive to low shrinkage.
- Form will be graded in clay (wet, green, or bone dry)
- Student should research, prepare the piece for firing
- The form will be split and hollowed to reduce damage.
- The form will be scored and slipped back together.
- The surfaces will be refinished in accord to aesthetic
- Student and faculty will organize firing.
- Final form will be graded in clay (wet, green, or bone dry)
- The form will be be fired in accord with the ceramic clay body used.
- A finish will be applied.
Option 2: Clay Model/ Mold/ Cast Plaster or Alternative Material/ Finished Form
- Student should research, modeling the human figure.
- An armature will be built for the form.
- The form will be modeled in a clay material conducive to a plaster mold.
- The form will be graded in clay (wet/green)
- A multi-part plaster mold will be made from the clay original.
- A form will be cast from the mold
- The surfaces will be refinished in accord to aesthetic.
- A finish will be applied.
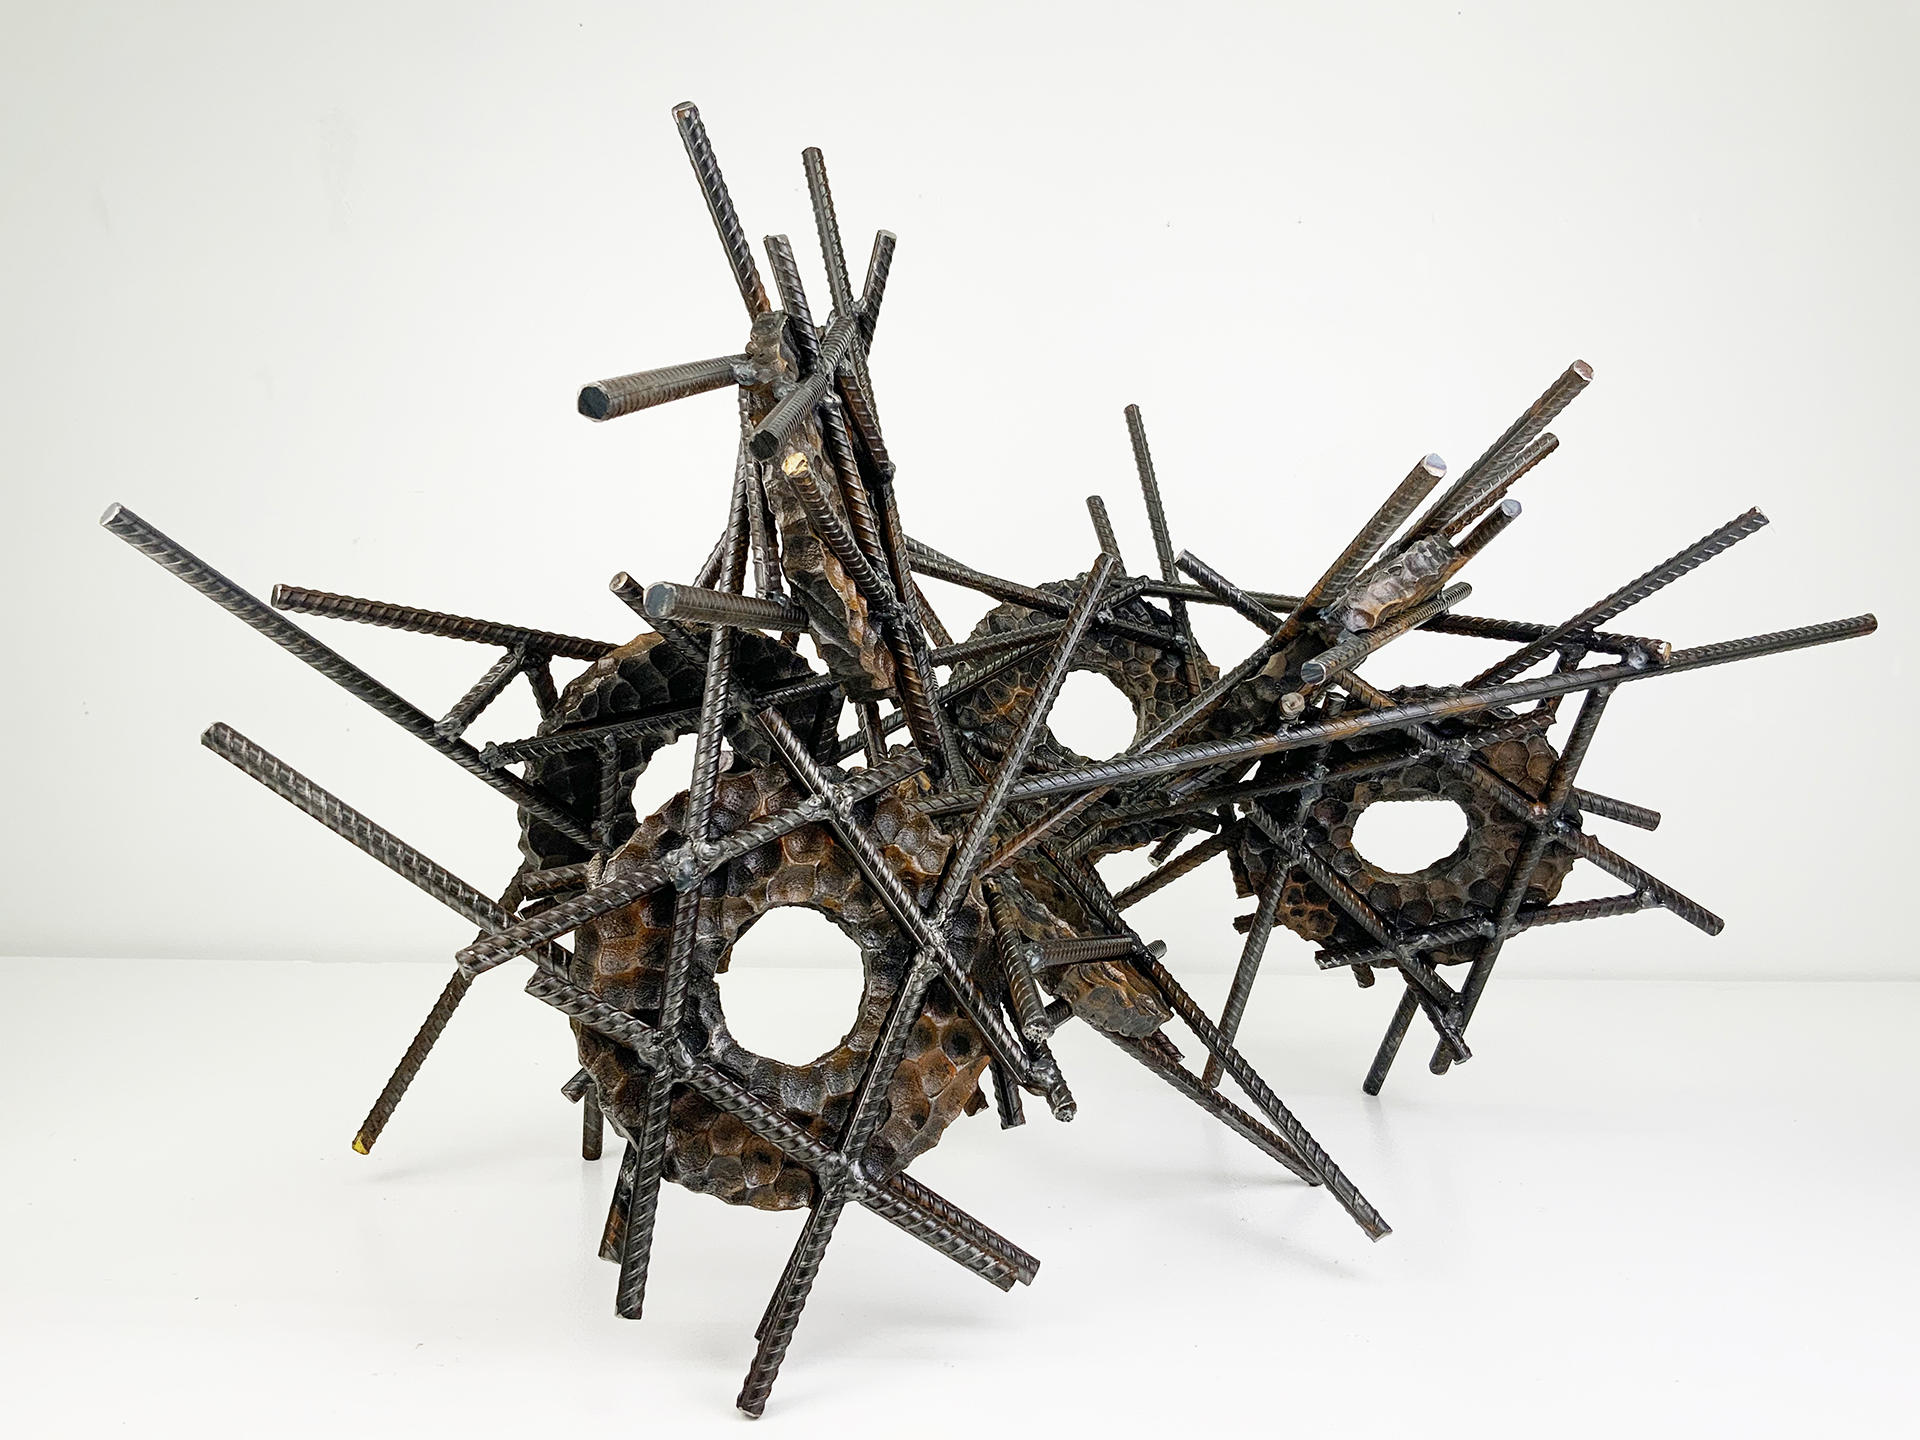
Option 3: Clay Model/ Rubber Mold / Multiple Material Castings/ Finished Forms
- Student should research, modeling the human figure.
- An armature will be built for the form.
- The form is modeled in a clay material conducive to a rubber mold.
- Final form will be graded in clay (wet/green)
- A multi-part rubber/ plaster mold will be made from the clay original.
- The mold will be graded on aesthetic and functionality.
- Forms will
be cast from the mold. - A plaster will be cast from the mold.
- The plaster will be finished within/as a composition
- A wax form will be cast from the mold to create a metal casting.
- The form will be gated, invested and cast in metal.
- Foundry Process: Lost wax process.
- Student and faculty will organize burnout.
- The mold will be filled with metal.
- The form will be de-invested and de-gated.
- The surfaces will be refinished in accord to aesthetic.
- A finish will be applied.
- Type of facilities and furnace will designate what casting metals will be used.
A great amount of effort should be placed on crafting the materials that they visually simulate the aesthetic and objective of this assignment. Materials, shapes and forms should transition from one to the other in a convincing manner.
Overview: Challenge yourself and the project.
Project grades gain much from the thought and “Effort” put into them.This project is traditionally based. Sensitivity to the model and technique, observation, and measuring are key to creating a likeness that satisfies this challenge. A word of advice, a three dimensional model will greatly inform how one models this form. It will make it easier to see the true form. Two dimensional models, i.e. photos, are less likely to give the amount of detail found on a real model.
To do list and Techniques:
- Play: Experiment Session:
- Sketching.
- Quick gesture modeling:
- Learn to work the clay.
- Clay modeling, rolling in hand and fingers, molding, attaching, trimming, cutting, scraping, Use available tools, hand made tools. A variety of tools should be experimented with.
- Choose: Choose a model.
- Research:
- Observation of model
- Techniques
- Measuring
- Sketches
- Practice on individual components
- Small models in clay.
- Collect:
- Print and collect imagery and text of your research.
- Human Anatomy
- Strategies
- Styles.
- Making Sense: Make it believable.
- Prefinish: Form is critiqued in green state and at leather hard stage.
Goals:
- Well crafted form
- Developed technique
- Uniform aesthetic
- A command over the material:
- Excellent Craftsmanship should be a major goal for all processes explored.
Tools and Materials:
- Sketchbook (Hard bound, 9 in. by 12 in. or larger recommended)
- Clay
- Clay sculpting tools
- Clay tools
- Scraping tools
- Burnishing tool (Spoon)
- Texturing, scoring tool (Fork)
- Metal Ruler (cork backing preferred): 24 in. or 36 in.
- Calipers
- Seamstress tape
- Armature material
- Safety Goggles/Glasses/ Eye Protection
- Drawing Pencils and Erasers
- Measuring tape
- Utility Knife w/extra blades and X-Acto knife w/blades
- Adhesives and Masking tape
- Adhesive Bandages
- Variety of Pliers and Wire Cutters
- Plasticine Clay (Soft)
- Sharpies
- Mold Max 30: One gallon kit to 5 gallon kit may be needed
- Wood and MDF
- 3-5 gallon plastic bucket and other mixing containers
- Paint (optional)
- 4 1/2 inch Angle Grinder w/grinding, cutting and flap disc
- Leather covered work boots/shoes (Stay away form Synthetics or Poly blends)
- Leather Welding Jacket (Stay away form Synthetics or Poly blends)
- Leather work gloves/welding gloves
- Welding Helmet (Shade 9+)
- Shade 5 Welding Glasses( for oxy-acetylene)
Books and Resources:
- Mastering Portraiture Advanced Analyses of the Face Sculpted in Clay 2009
- Portrait Sculpting: Anatomy & Expressions in Clay
- by Philippe & Charisse Faraut (2004)
- Figure Sculpting Volume 1: Planes and Construction Techniques in Clay
- Modeling the Head in Clay Bruno Lucchesi, Margit Malmstrom
- The Portrait in Clay
- by Peter Rubino
- Sculpting the Figure in Clay: An Artistic and Technical Journey to Understanding the Creative and Dynamic Forces in Figurative Sculpture by Peter Rubino
- Ceramic Sculpture: Making Faces: A Guide to Modeling the Head and Face with Clay
- by Alex Irvine
- The Figure in Clay: Contemporary Sculpting Techniques by Master Artists
- (A Lark Ceramics Book)
- 500 Figures in Clay: Ceramic Artists Celebrate the Human Form (500 Series)
Create a label for your project with these specifics:
• Name:
• Dimensions: HWD
• Materials:
• Metal casting weight:
• Year Complete:
• Course:
Tape your label to your project. Use masking tape so that it will not harm your project.
Objectives:
- Sculpting the human figure
- Presentation strategy
- Method: Planning, work ethic, building techniques and strategies
- Material Characteristics:
- Three-Dimensional Pattern Making
- Mold Making Process: Lost wax/Sand casting-Cope and Drag
- Volume: HWD
- Mold Gating/Sprue Methods
- Hot Metal Casting Process
- Successful Casting
- Fabrication techniques: Post Casting fabrication, Object Installation
- Structural and Aesthetic qualities
- Finishing Techniques: Heat Treated Patina
- Sensibility to form: Good design, clean aesthetics
- Integrity of the artist to their craft
Caution:
Chemicals and fumes: This process uses chemicals and materials that might be dangerous for some people. Read the MSDS (Material Safety Data Sheet) for questionable materials. Please use a respirator and rubber or latex gloves while using chemicals and chemically treated materials. A dust mask may be used rather than a respirator. The respirator will provide better protection.
Foundry: This project will incorporate the use of the foundry and “Extremely Hot Metal”. Safety and a disciplined studio etiquette should be followed during metal pours and all studio activities.