
 Mission: (Project Description)

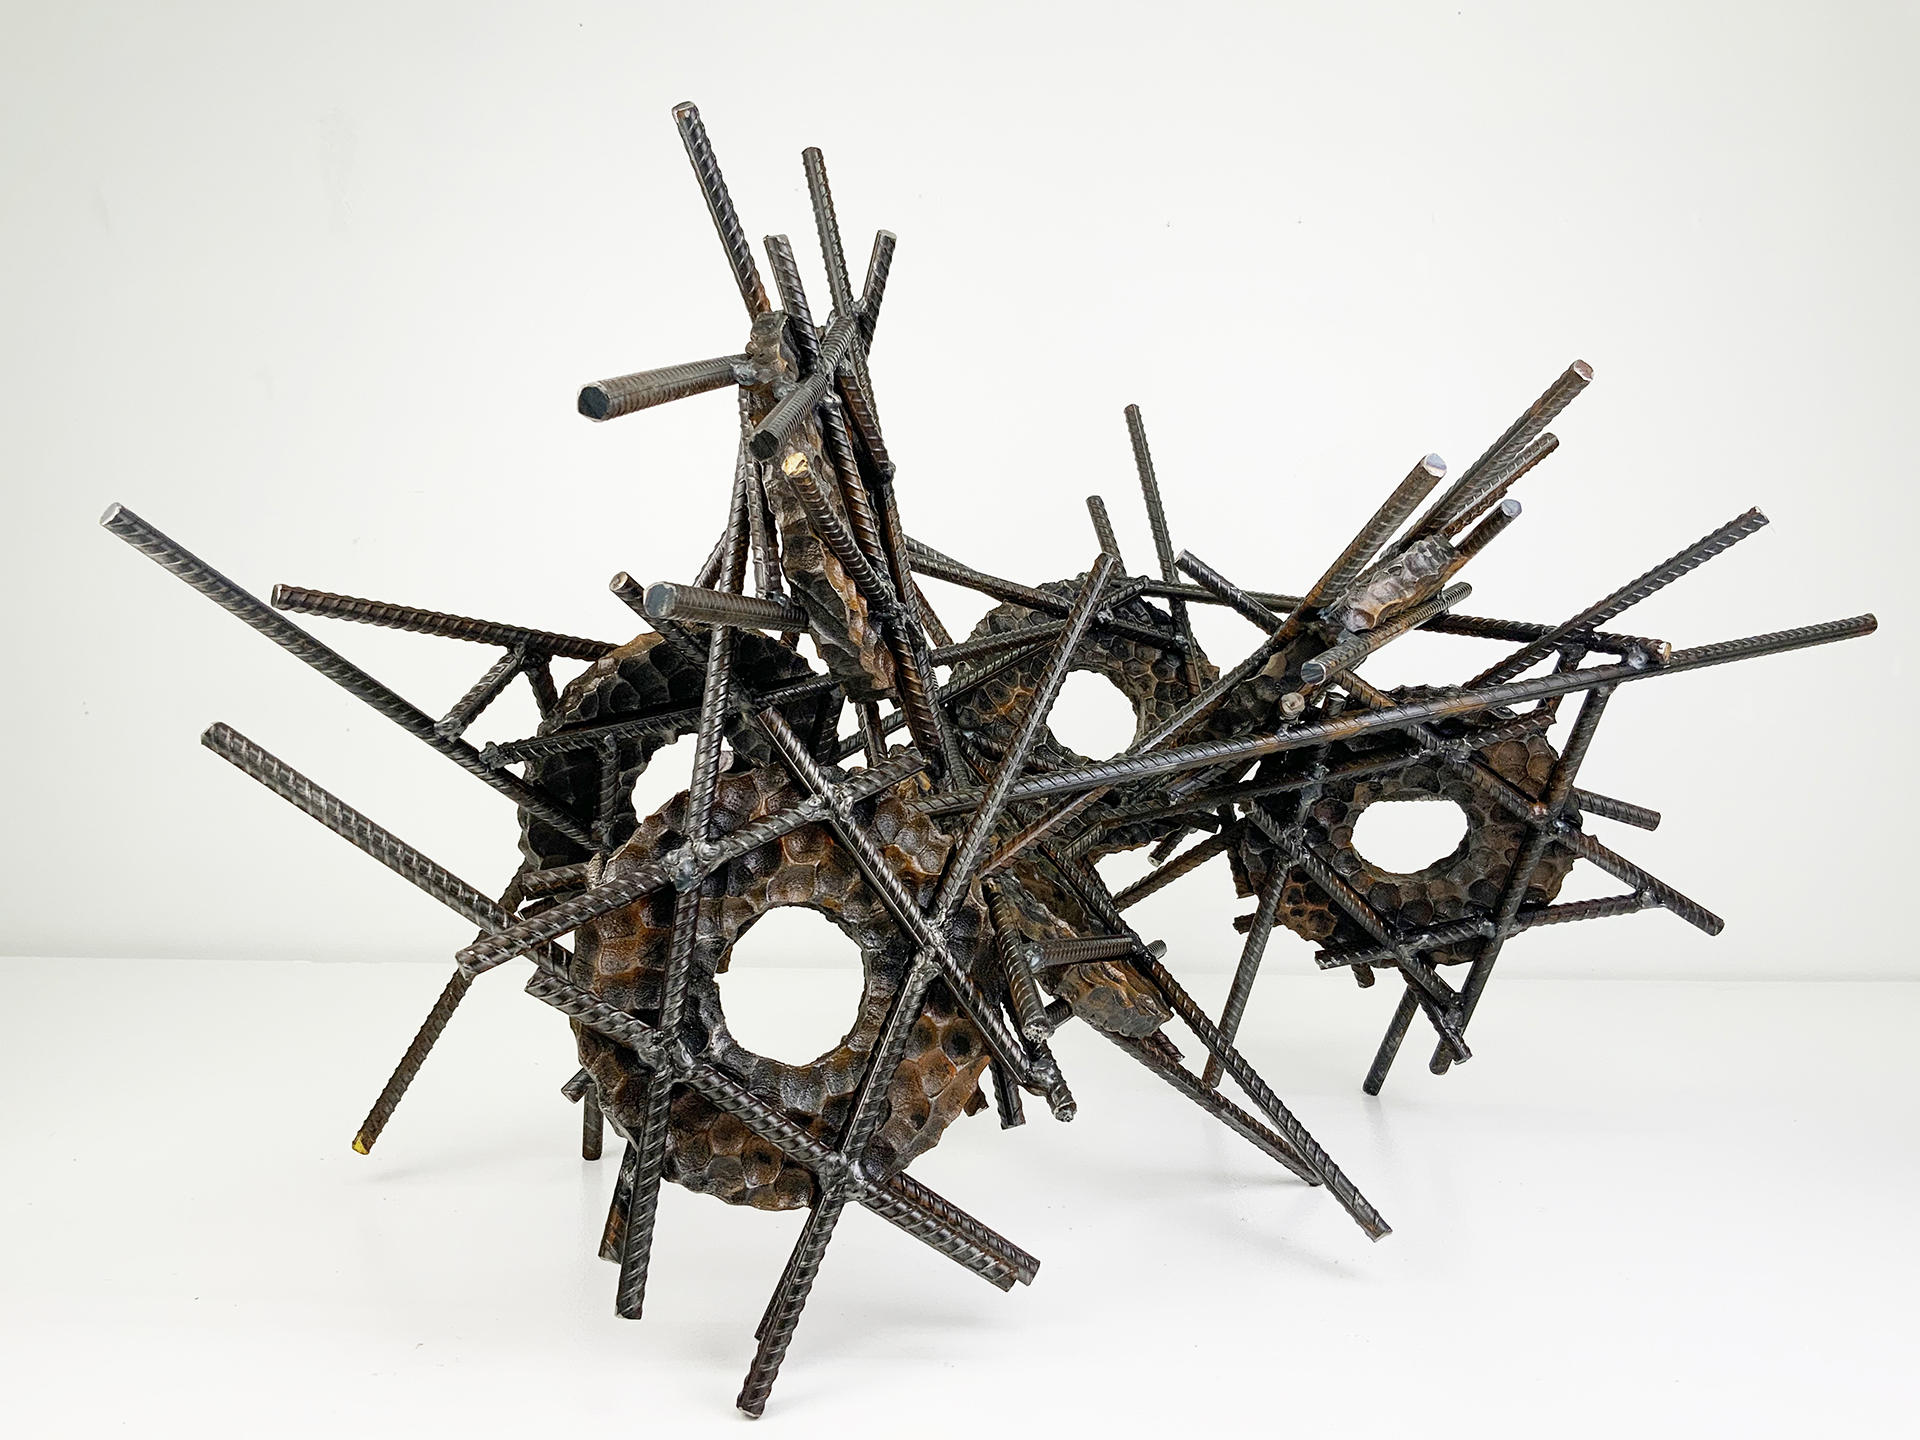
Create a sculptural form/structure that develops from the linear quality of welded and fabricated metal. The final form should have a sense of variety and repetition of elements. Add a skin to some or all components of the structure. Develop an aesthetic in the connection of skin to form.
It is expected that a concept be developed that will draw the viewer into a transformed space. A linear form should be the initial aesthetic, creating a structure that defines a new space. Lines, shapes and forms may be curved or straight, yet artist intent must be obvious and well crafted.
Sketchbook Assignment:
Sketches of your ideas should be rendered before and during sculpting. A minimum of five pages should be dedicated to this sketching component. Documentation is a critical learning habit. Not only does it record growth and provide reflection, it will foster new ideas. Printed images of inspirational sculptures or objects should be placed in your sketch book as well. Your sketch book will be graded along with your project.
- Draw as you create.
- Draw what you create.
- Photograph as you create.
- Take notes.
Fabrication:
Form: Beyond line, develop a composition that creates or entraps volume as shapes create form. Do not build a flat 2-dimensional drawing.
- Welding will be the primary fastening technique.
- Other fastening techniques are encouraged.
- Welds should be clean. Relative: no Slag, no whiskers.
- Use the grinder to clean your welds.
- Re-weld if needed.
Skin:
Other materials are not only encouraged but expected. Greatly consider how materials are secured to the structure. Develop aesthetics in the way skins are connected and use them wisely and consistently. Look for texture in the materials search for. Add texture with other materials such as tar, acrylics, and resins.
Display:
- Build a form that can stand on a surface, project off the wall or hang from the ceiling.
- Choose and design wisely. Aesthetics and good design should be greatly considered.
- When engineering, developing, and building fastening devices and supports for sculpture, stay away from obtrusive devices that may take away from the concept or aesthetics of the work.
Installation:
- Make sure the design works.
- If free standing, make a structure that is self supporting.
- If the form will be a wall hung piece, a well engineered mounting strategy should be developed to secure the work to a wall.
- If the form will be a ceiling hung piece, a well engineered mounting strategy should be developed to secure the work to the ceiling.
- Allow space for fasteners such as screws to be tightened during installation.
- Test your designs before final installation and critique.
Material/Structure:
Sculpture will be made of bent and welded 1/4 inch metal rod and other metals and “skin” materials introduced by the student.
Scale: (HWD)
A minimum of 30 ft of metal rod will be used for this project. Additional material may be purchased to build the form. Final Dimension of Sculpture: The minimum range to shoot for is 2 ft x 3 ft x 1 ft.
Craft and Aesthetics:
A high degree of craft is expected in the fabrication. If wall or ceiling mounted, remember to allow space for fasteners such as screws to be tightened with ease for installation. This is often missed and installation becomes difficult. The skins should be consistent and foster a cohesive visual conversation to the viewer.
Finish:
A metal finish should be considered for exposed areas. Ends of rod should be well finished/polished with a grinder. A polish, patina or paint may be used. Absolutely, no spray paint in the shop. If spray painting, work outside or in a spray booth. Place a protective material such as newspaper on all surfaces under and around the work area, even the concrete floor. Prep; clean, sand and use a primer before metal is painted. Most metals have an oil on them that will resist paint and surface treatment. It is a good idea to clean the materials before you begin the project. Sanding before cutting and welding will be beneficial.
Tools and Materials:
Safety Glasses
Measuring tape
Welding Eye Protection
Welding Gloves
Welding Leathers (option: thick flannel shirt)
Angel Grinder
Grinding disc, Cut off disc, Flap Disc
1/4 inch rod/ Mild Steel Hot rolled (HR)
1/8 inch rod/ Mild Steel Hot rolled (HR)
Wire: Rebar Wire (good for modeling form or fastening)
Sand paper/ steel wool
Solvents, To clean oil off the metal
Finishing materials, Primer, Sealers/Paint.
Other materials for skin and attaching materials (Wire, string)
Create a label for your project with these specifics:
- Name:
- Dimensions: HWD
- Materials:
- Year Complete:
- Course:
Tape your label to your project. Use masking tape so that it will not harm your project.
Caution:
Protective Gear required: Wear appropriate eye protection, clothing and shoes while welding. UVs from the welders can burn skin and damage eyes, much like the sun, not to mention the metal will be hot after a weld. Use leather welding gloves while working around the metal shop. Assume that metals are “Hot” before picking them up. Be careful when picking them up.
Fumes: Be aware that some metals can be hazardous and some are not compatible with others, In other words lets stick with what we know, steel. When welding, stay away from anything covered in a zinc allow, such as galvanized metals. Galvanized metals can be potentially dangerous, as the zinc will form a thick vapor that is hazardous to our health.
Research:
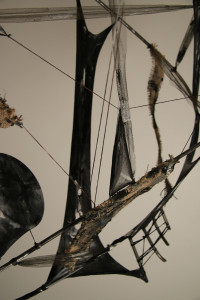
Lee Bontecou
Eric Stephenson
Alexander Calder
Robert Klippel
Lynn Chadwick
Sol Lewitt
James Turell
Rebecca Horn
Antony Gormely
Rachel Whiteread
Richard Serra
Joseph Beuys
Bruce Nauman
Tony Cragg
Piet Mondrian