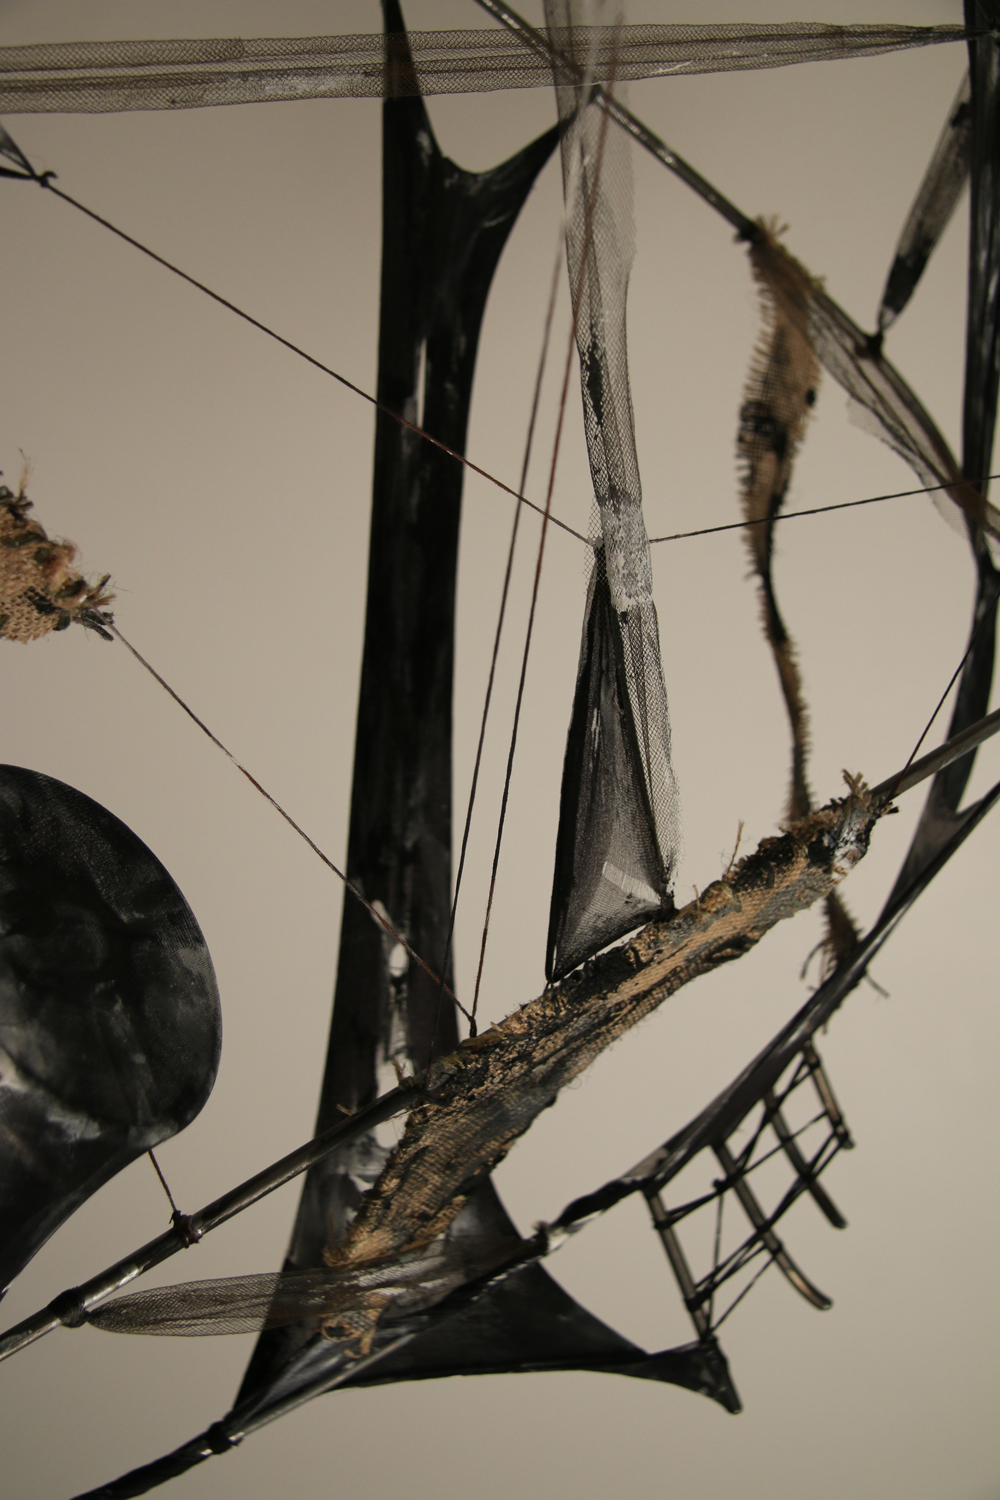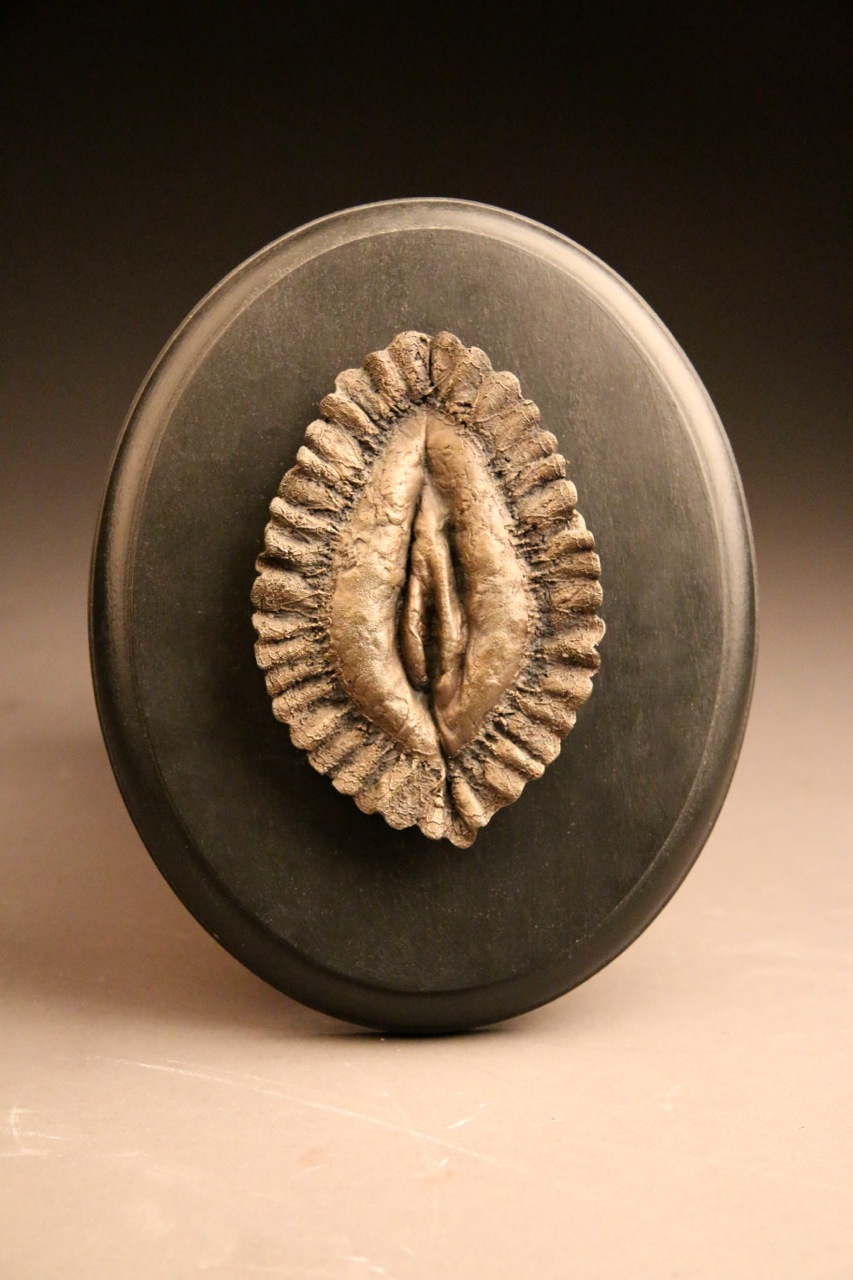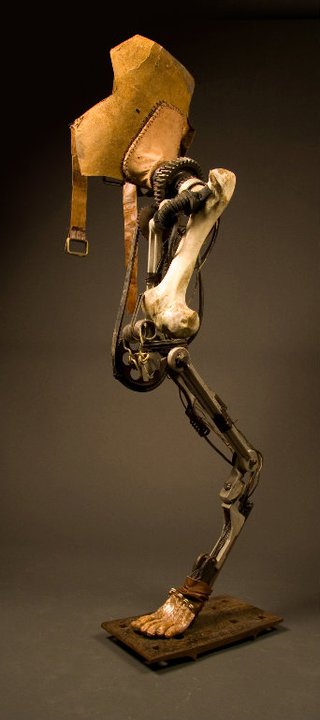
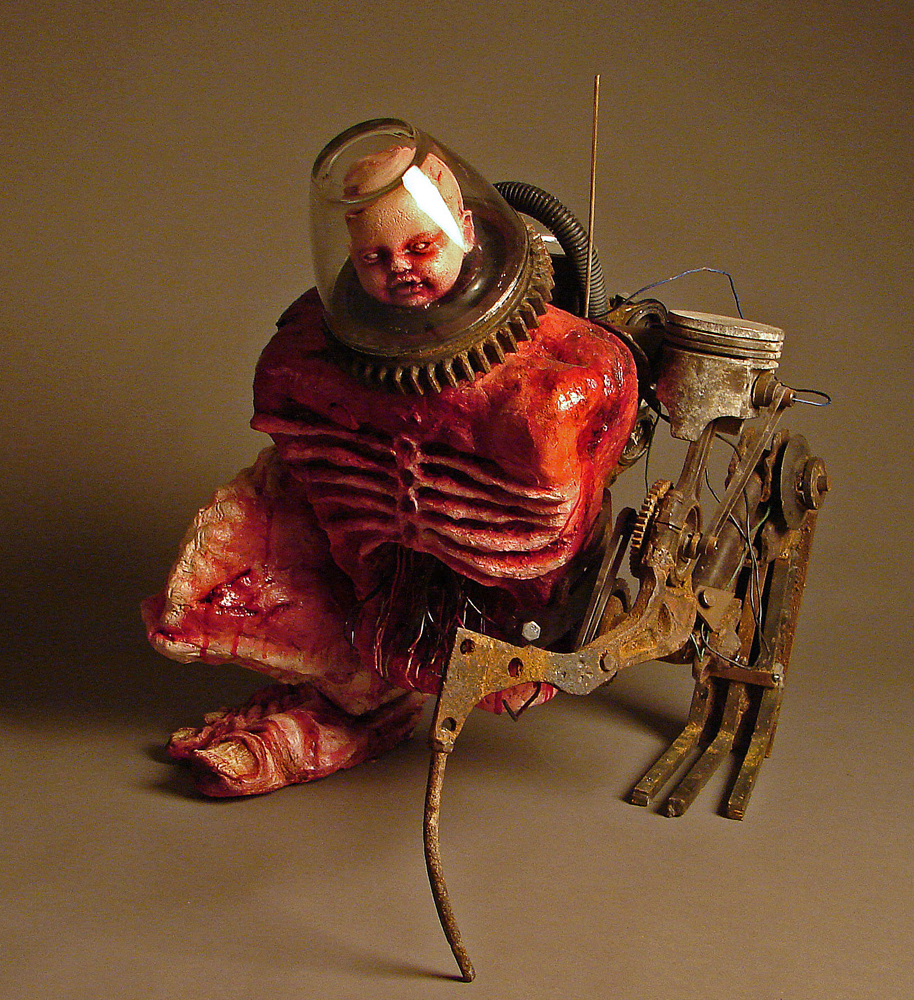
 Exquisite corpse or Cadavre exquis is traditionally a drawing technique where a bank of words or images are collected, and assembled to create a finished composition. This project explores this surrealist idea in an assemblage of components to create an “Exquisite corpse” sculptural artifact.
Mission: (Project Description)
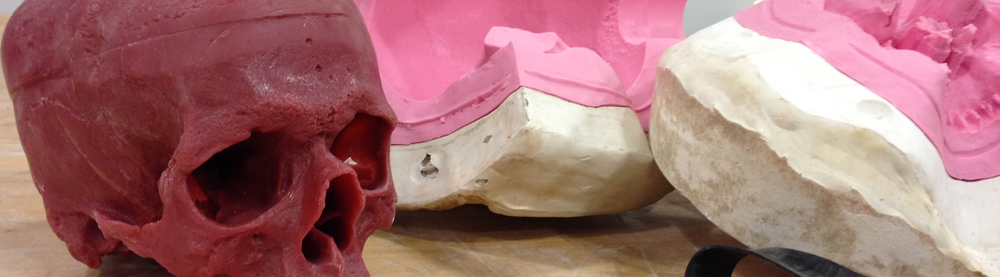
In this project, the student is asked to create five artifacts from the inventory of objects created from previous mold-making assignments. Students are allowed to melt, cut, deconstruct, and transform existing objects and reassemble them into unique sculptural forms/figures. The final form may be prepared as if to be cast in metal using the gating method for the traditional investment lost wax method. Other materials may be added. Attention should be given to how additional materials are fastened to the wax objects. Note whether objects will remain as original material or be cast pin metal.